We offer a huge variety of traditional and contemporary custom jacket labels. Iron on with ease and you’re set to go in style.Whether you’ve made a custom jacket for a loved one, or you produce designer products for sale, your custom clothing deserves an equally beautiful label. Let us help you find the perfect finishing touch with printed woven label options including:
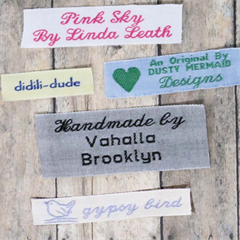
Logo and text labels
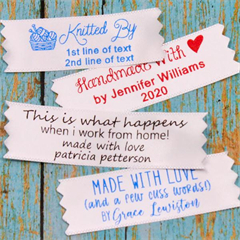
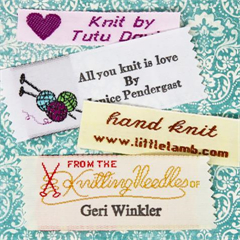
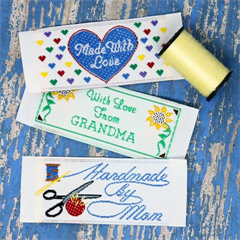
Personalized woven labels for gifts
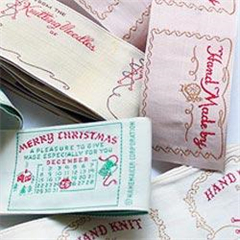
Vintage sewing labels
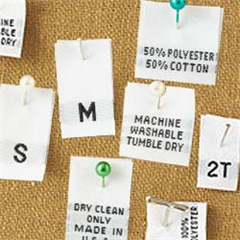
Size and care clothing tags
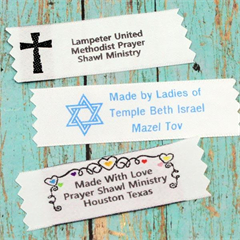
Prayer shawl labels and religious clothing tags

Our custom-printed jacket labels are available in various fabrics, including linen and cotton, and we offer a wide assortment of colors and text styles. Choose from dozens of unique designs and styles, or upload a design to create your own custom iron-on clothing labels. Machine washable and dry clean friendly, our labels and will last the life of your custom-made jacket.
Tips and tricks for attaching custom jacket:
Our iron-on personalized clothing labels are the perfect way to give your designs an authentic feel. Our labels are often used to identify the owner of a piece of clothing, especially in situations where clothes can be easily mixed up. The following are a few simple, no-fuss ways you can attach your new clothing labels:

Iron the Label: The easiest option for attaching your clothing label is to iron it onto the garment. Iron a label with an adhesive onto the piece of clothing. This option also allows you to remove the label if ever needed easily.
Stitch the Label on All Four Sides: Take your ready-made label and stitch all four sides of it anywhere on the garment. Typically, the upper back near the seam is the most common place to attach clothing labels.
Stitch the Label into a Seam: In order to stitch a clothing label into a seam, simply turn three ends under and stitch them in place prior to attaching the label to the garment.
Stitch a Loop into a Seam: If you’re working with a long, slender clothing label, fold each end up to create two 90-degree angles. Then, place parchment paper or thin cotton fabric over the label to iron the two ends in place. Now, you’ll be able to sew in the label with ease.